

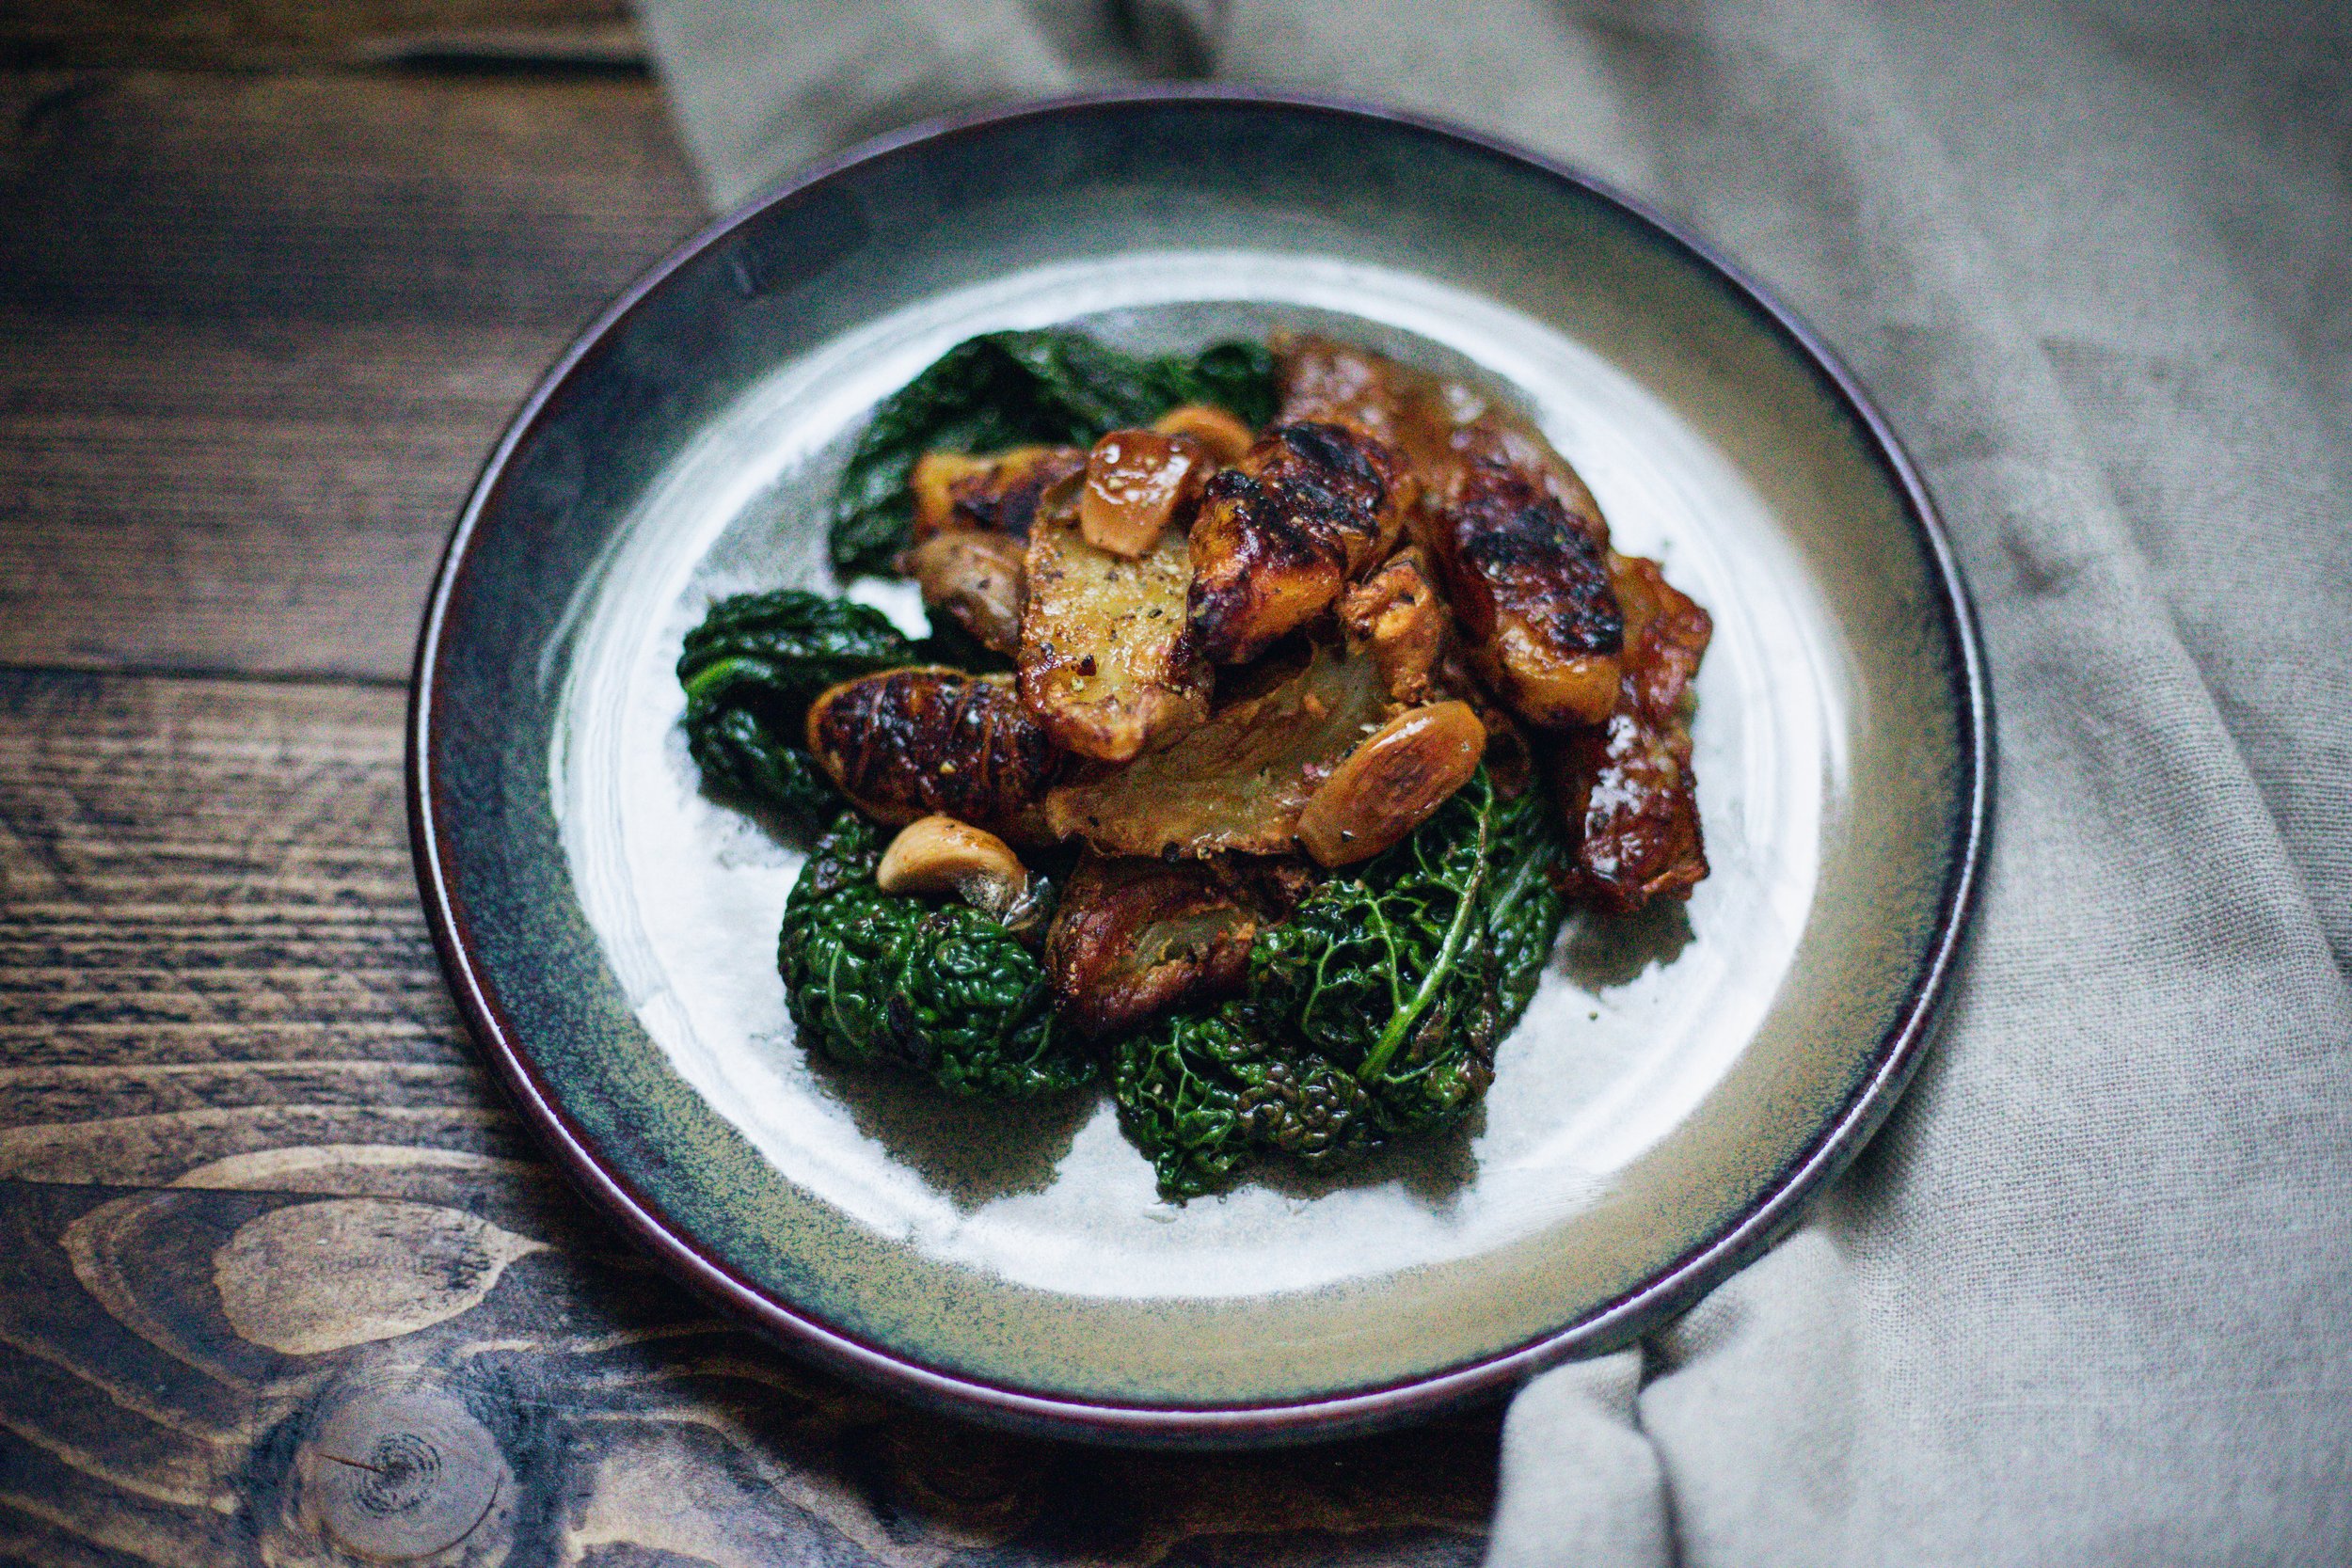
Jerusalem Artichoke, Oca and Kale

A side, snack or lunch, this dish is at once sweet and sticky as well as lightly nutty and savoury. Balanced with the sour notes of oca, a wonderful tuber from the Andean region that now grows across Europe and New Zealand, this recipe couldn’t be easier or tastier.
Honey
This recipe also involves a bit of a luxury treat. Honey fermented garlic. If you don’t eat honey then by all means add raw garlic cloves into the roasting pan 20 minutes into roasting the artichokes and oca, then dress with a dash of maple syrup mixed with cider vinegar (measurements listed below). But if you have a garden and plan to keep bees of your own, below is a photo of one of the most fair ways to harvest honey (as shown to me by Andy and Liz of Anuna Sourdough Bakery).

Known as the Warré hive, developed by an abbot of the same name, this hive is designed to naturally mimic a bee’s building habits whilst being as fair to the bees as possible. It does this by never leaving the bees short of enough honey for themselves. This is a crucial step most hive designs overlook, choosing instead to take too much honey and then substitute the missing food with a block of sugar. This is a bad trade for the bees as they lose their highly nutritious honey, filled with foraged minerals and microbes alike, in exchange for a dead, nutrient devoid lump of calories. Next time you decide to spread honey on your toast for breakfast, reach for a block of fondant icing instead and see how it goes. Much like all living things, bees desperately need the complex diversity of their foraged food to maintain individual as well as community health.
The Warré hive works by allowing the beekeeper to add boxes to the bottom of the hive as the bees build their structure downwards, mimicking their natural instinct. This is known as ‘nadiring’, in contrast to conventional beekeeping which uses the ‘supering’ technique. Along with providing natural insulation and shelter for the bees, the Warré hive offers those who abstain from eating honey on ethical grounds a fairer, more nuanced alternative. By supporting beekeepers who use this method, we provide another means to keep bees going in a way that puts the bees first.
Fermenting with Honey
This technique couldn’t be easier. A good, raw honey is teaming with microbes eager to get going, as is garlic. The natural acidity of honey means the fermentation process has a comfortable window of time to lower the pH, making it safe from harmful toxins like those that cause Botulism (but if you’re worried, you can add 2 tsp of cider vinegar to the mix too). Below is a quick step by step on fermenting your garlic in honey, but if you’re interested in learning more about natural fermentation you can do from produce and microbes in your garden, we have an online video course all about it here.
Preparation
Peel enough cloves to fill your sterilized jar half way, then cover with honey 3/4s of the jar up. It is important to leave a gap at the top as the honey will expand with bubbles. Screw a lid in place and tip the jar up to make sure the garlic is covered.
Process
Burp the jar daily for the first month to release the build up of gases and give the jar a shake to redistribute the garlic (you want to make sure none of the garlic is left floating outside of the honey for more than a few days at any one time, as this can act as an island for unwanted microbes who can’t tolerate the honey).
After a month or so, fermentation activity should be less aggressive. At this point you can ease off on the burping as the fermentation enters into it’s aging stage. Allow it to age somewhere dark and room temperature for at least 5-6 months, in which time the garlic will shrink and the honey will darken.
After aging, enjoy eating the garlic like tasty little sweets or add them into recipes and salads as explosions of chewy flavour full of beneficial microbes. Use the honey to glaze savoury meals (roasted mushrooms or squash with garlic fermented honey and soy sauce is AMAZING).
Artichoke, Oca and Kale Recipe
Serves 2
500g Jerusalem artichokes
250g Oca
10 Kale
10 Cloves of fermented garlic / 5 raw
Drizzle of fermented / raw honey OR maple syrup
Salt and pepper
Step 1.
Soak the oca and artichokes in cold water for 20 minutes to loosen the soil whilst the oven preheats at 180C / 355F. Give them a scrub and half any large artichokes lengthways. Place them all in a lined roasting tray with a knob of butter or drizzle of oil and season. Pop them in the oven on the middle shelf for 15 minutes.
Step 2.
Flip everything over after 15 minutes to avoid burning underneath, then return to the over for 10 minutes. If using raw garlic, add the cloves at this stage.
Step 3.
After 10 minutes, toss everything around again and add the fermented garlic with a drizzle of whichever honey you’re using. Return to the oven for the final 10 minutes.
Step 4.
Remove the thickest part of the stem from the kale and rinse in cold water. In a frying pan, melt a knob of butter and season lightly. Add the kale when the butter starts to bubble, taking care not to let the fat spit on you. Leave the kale the sauté for a minute, then turn it over to repeat on the other side.
To plate up, fold the kale onto the plate and top with the contents of the roasting tray. Drizzle with the honey from the tray before it cools and sets.