

Courgette Kraut

Fermented, funky and crunchy. What’s not to love about sauerkraut? And in celebration of our Kitchen Garden Fermentation course (coming soon!), I’ve decided to share a version of one of the recipes featured in it to help unburden you of the yearly question: what do I do with all these courgettes?
* Technically this recipe should be called ‘Sauer Zucchini’, as kraut means cabbage and sauer means sour, and this is a soured courgette.
Sauerkraut
If you’re new to the world of fermentation or perhaps familiar with sauerkraut’s popular Korean cousin, Kimchi, then Sauerkraut is a great introduction. A national dish in Germany, this soured cabbage makes the most of the natural bacteria that live on the ingredients themselves in order to convert the sugars of the vegetables into lactic acid. Once made, the cabbage is preserved in the soured liquid much like a pickling preserve and can be stored in the fridge for weeks to months after making. Despite being known to us by its German name, the origins of sauerkraut (meaning ‘sour cabbage’) can be traced (in the form of Suan cai) back to China, from a time before the Great Wall of China was built. The technique is believed to have found its way into eastern Europe, then the west, via the Tartars, where it quickly gained popularity as a means to preserve food before fridges and freezers were invented.
Thanks to courgettes’ high water content, they make a very effective fermenting ingredient. And in replacement of cabbage, courgette is much softer, lending itself nicely to a smoother, less crunchy sauerkraut. If, however, you’re like me and rather enjoy the crunchy texture of fermented foods, feel free to add in chopped up kale or chard stems, or of course cabbage as this will reintroduce a firmer ingredient and give the finished ferment it’s distinctive crunch.
The Nerdy Bit
Sauerkraut is a type of three phase fermentation known as population dynamics. In the first phase, anaerobic bacteria begin to produce an acidic environment until it becomes too acidic for them to tolerate. This acts as a primer, creating the perfect conditions for the next set of microbes to thrive without the competition of less acid tolerant microbes. These organisms raise the acidity higher still until only a select few types of microbe species (Lactobacillus) are left to happily ferment any remaining sugars, lowering the pH even further. By the time they’re all done, the sauerkraut is acidic enough to prevent most harmful microbes (such as Clostridium botulinum) from taking hold. It is precisely this reason why, unlike a lot of ferments, we don’t backslop a lacto ferment. The first two stages of microbes bring out all manner of nuanced flavours during the first 7 days of fermentation that are lost if we inoculate the brine with a fully aged sample from a previous batch. By introducing a high population of Lactobacillus from an established ferment, we quickly raise the acidity far too high for the first two stages and produce a bland, highly soured food that is both bland and unpalatable.
For this reason, I tend not to push fermentations with techniques that promise ‘quick wins’, such as aerating vinegars or keeping wine warm on a windowsill. Tampering with the natural process to try and speed something up always means losing something else in return (for an example, look at the difference in flavour between sourdough bread and baker’s yeast).
Courgette Kraut Recipe
Makes 1kg

2 Courgette medium sized, grated (leave the seeds out)
1/2 Small Cabbage, shredded
2% Natural salt
Yellow mustard seeds
1 Clove of garlic, sliced thinly
Optional: 3 fennel fronds
Equipment:
Grater
Knife
Chopping board
Scales
Spoon
Mixing bowl
1ltr Screw top preserving jar
Baking parchment
Scissors
Step 1.
Clean and sterilize all your equipment and clean your ingredients. Tare your scales to the weight of the mixing bowl, then grate the courgette and thinly shred the cabbage using a knife (or blade attachment for a blender) and add them to the mixing bowl. Thinly slice the garlic and add the remaining ingredients (apart from the salt).
Step 2.
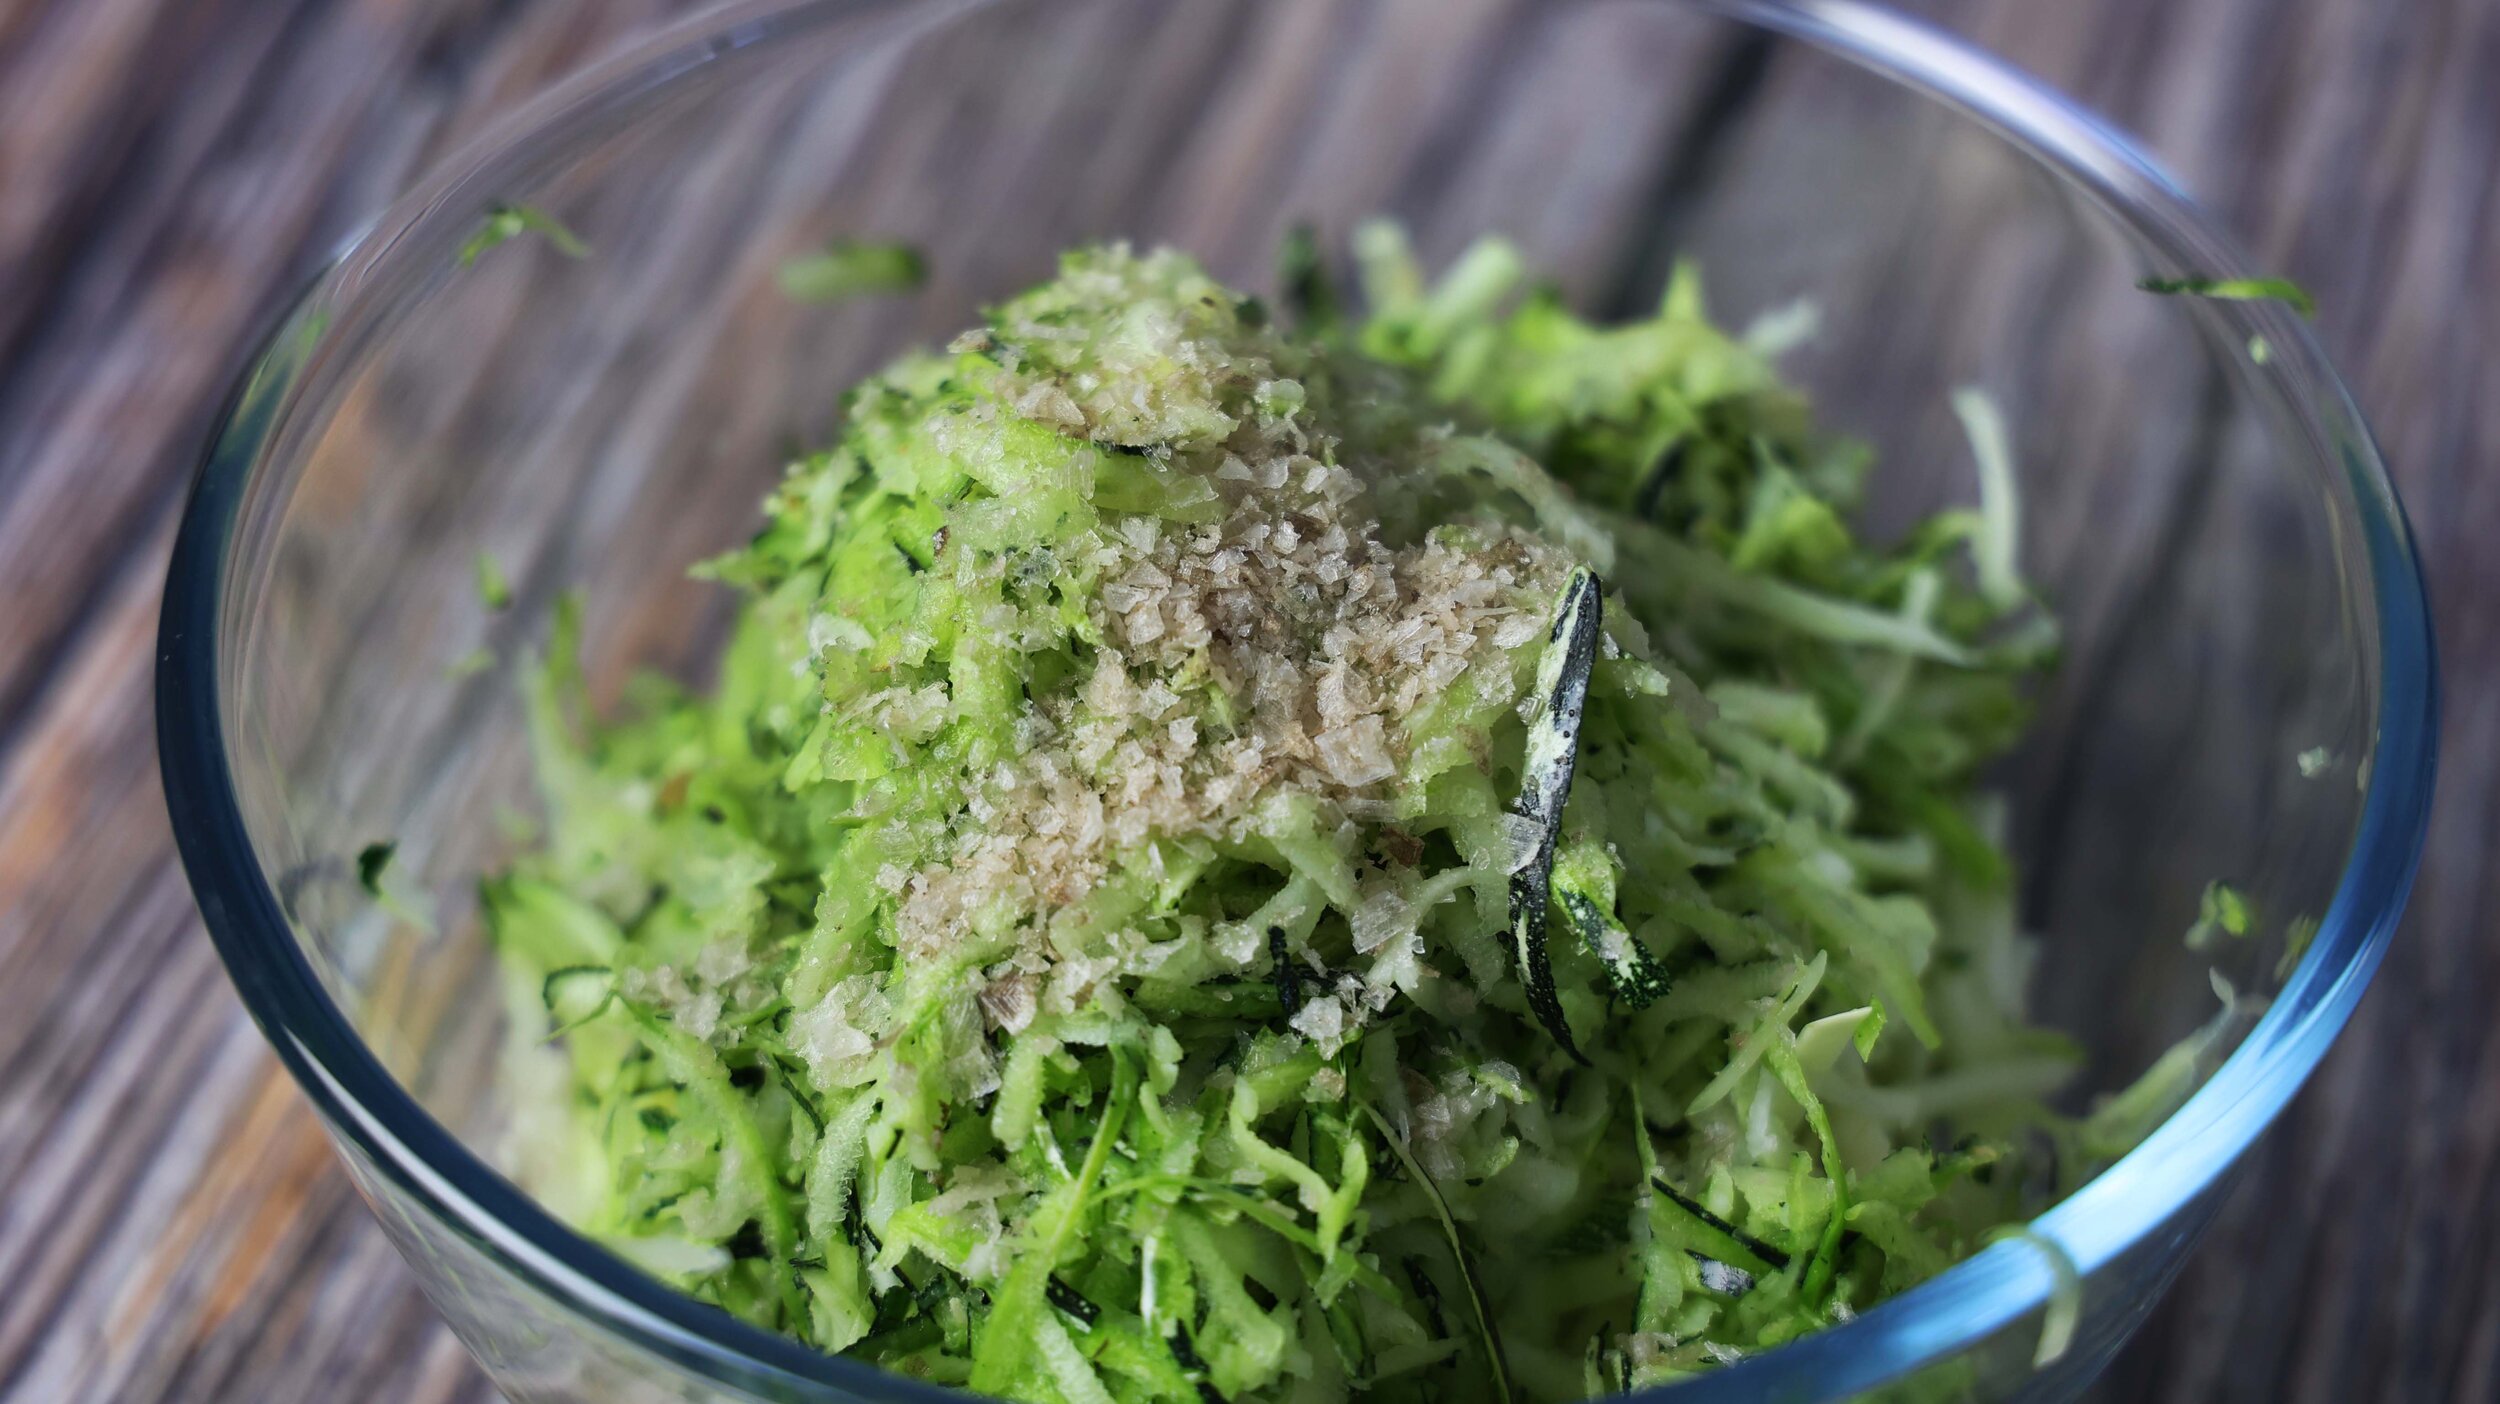
Work out 2% of the total weight of your ingredients by dividing by 100, then times the result by 2. Add this amount of salt, I like to use a smoked salt, and massage it into the ingredients for a few minutes until a lot of water is released and enough volume has been lost for it to fit in the jar.
Step 3.
Add everything from the bowl into the jar and use a clean towel to remove any excess from the mouth of the jar. Pour the liquid from the bowl in over the top of the kraut until it covers the ingredients completely. This fermenting liquor is what forms protection against unwanted pathogens. Next, cut out a circular piece of baking parchment that’s the same size as the top of the jar and push it in so that it forms a seal against the surface of the liquor. Tightly screw a lid in place and leave the jar ambient for a week, tasting it daily after the third day to see how the ferment is going. Once the flavour has become acidic enough for you, store it in the fridge and eat within 1-2 months.